
XXX Video Editing Guide
Every sheCRUMBLED XXX video is edited in two parts in DaVinci Resolve: a short model intro montage that opens the scene, and the sex tape itself. This guide covers both.
Part 1: Model Intro Montage
The scene opens with a short slow motion montage of the model, cut to our intro song, with her name as a title overlay. It's built from the sheCRUMBLED template.
Before you start
Import the model's 60 fps slow motion clips into your project. At this point the timeline is just the raw footage, one long run of clips.
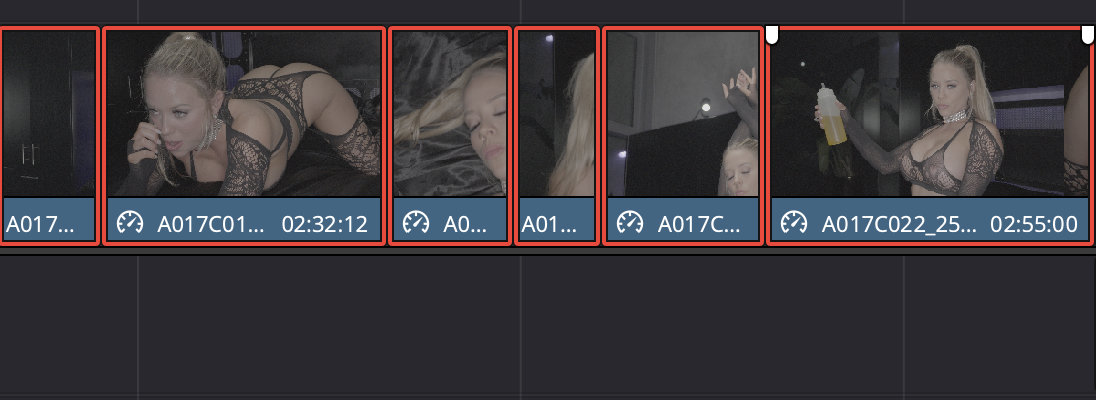
Step 1: Slow the clips to 40%
Our slow motion is shot at 60 fps. At 40% speed it plays back at a smooth 24 fps with no stutter.
- Select all the slow motion clips on the timeline.
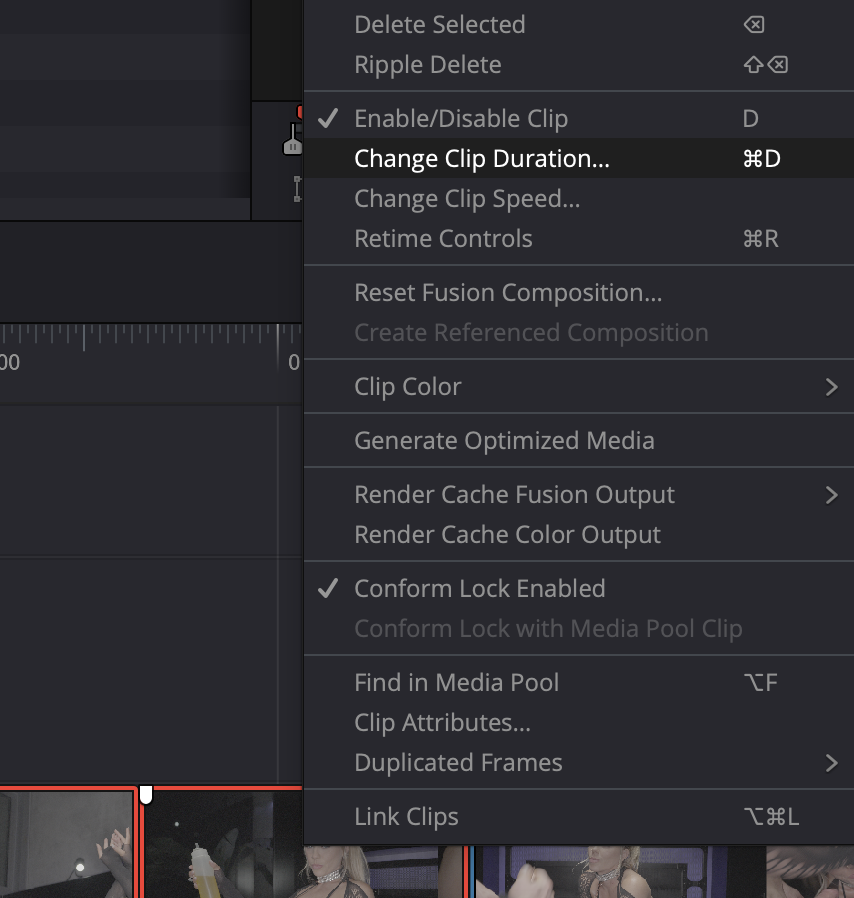
- Right click and choose Change Clip Speed…
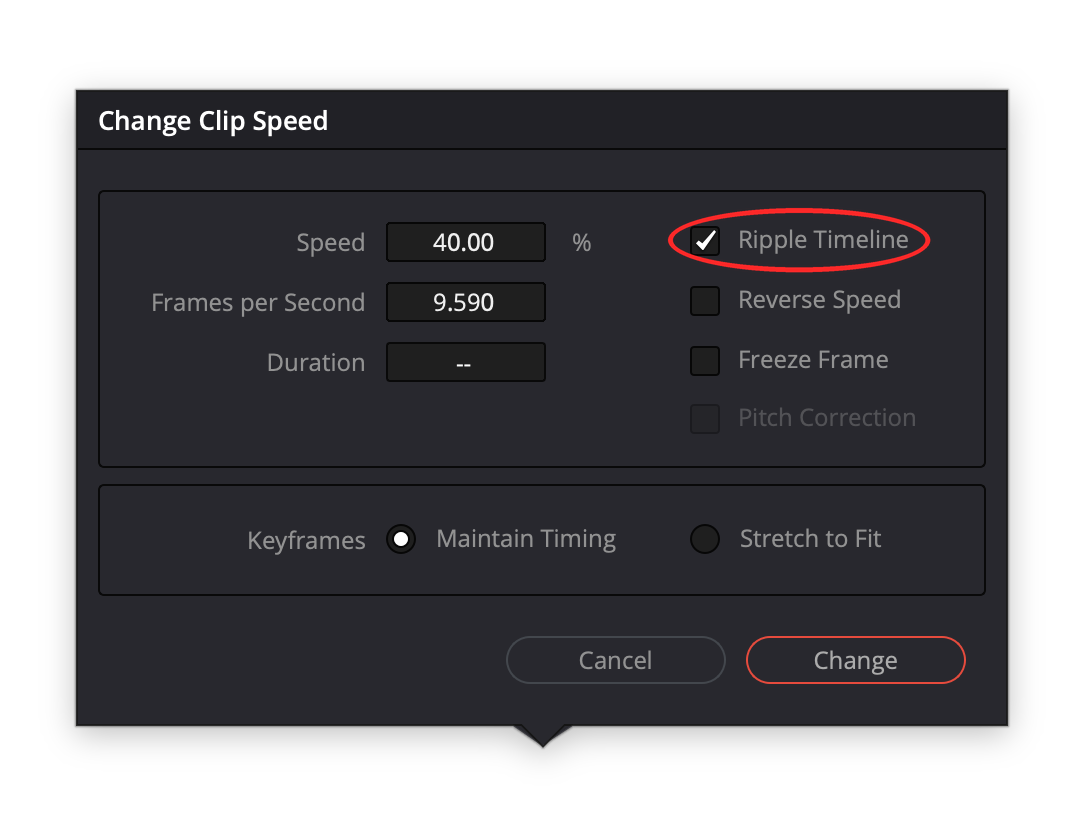
- Set Speed to 40%, leave Ripple Timeline checked so the clips don't overlap, and click Change.
Step 2: Trim to the highlights
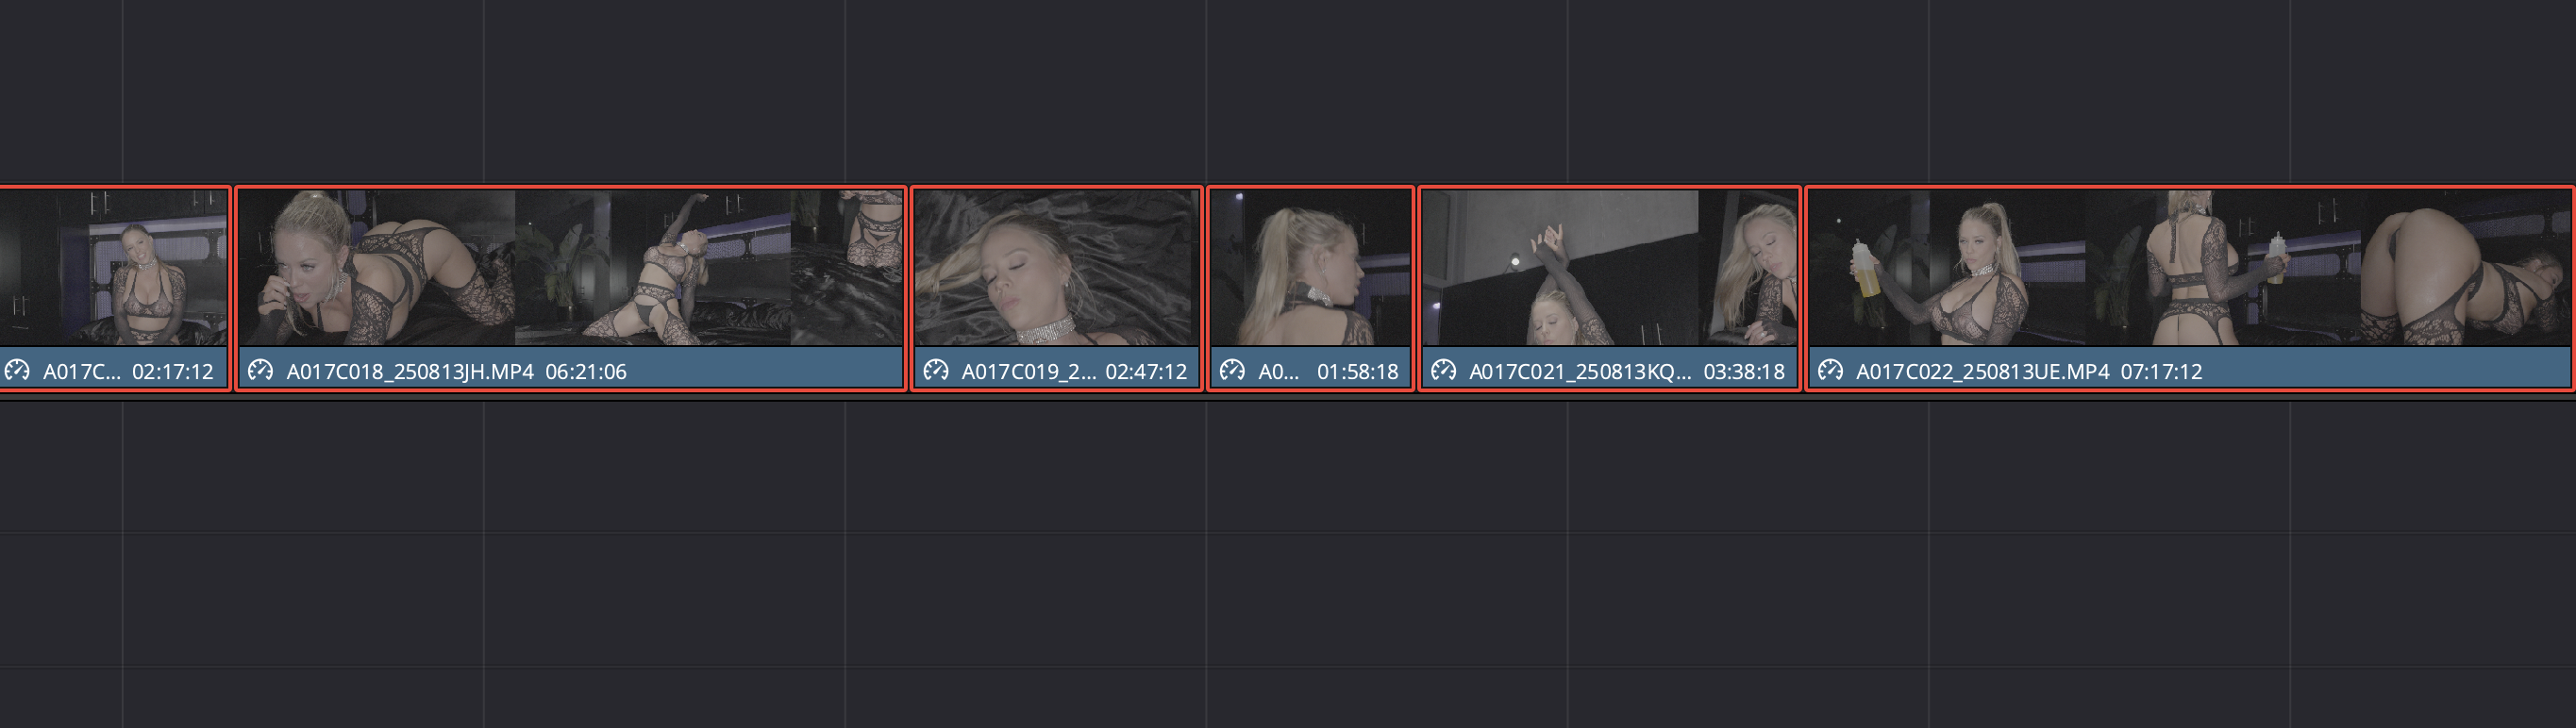
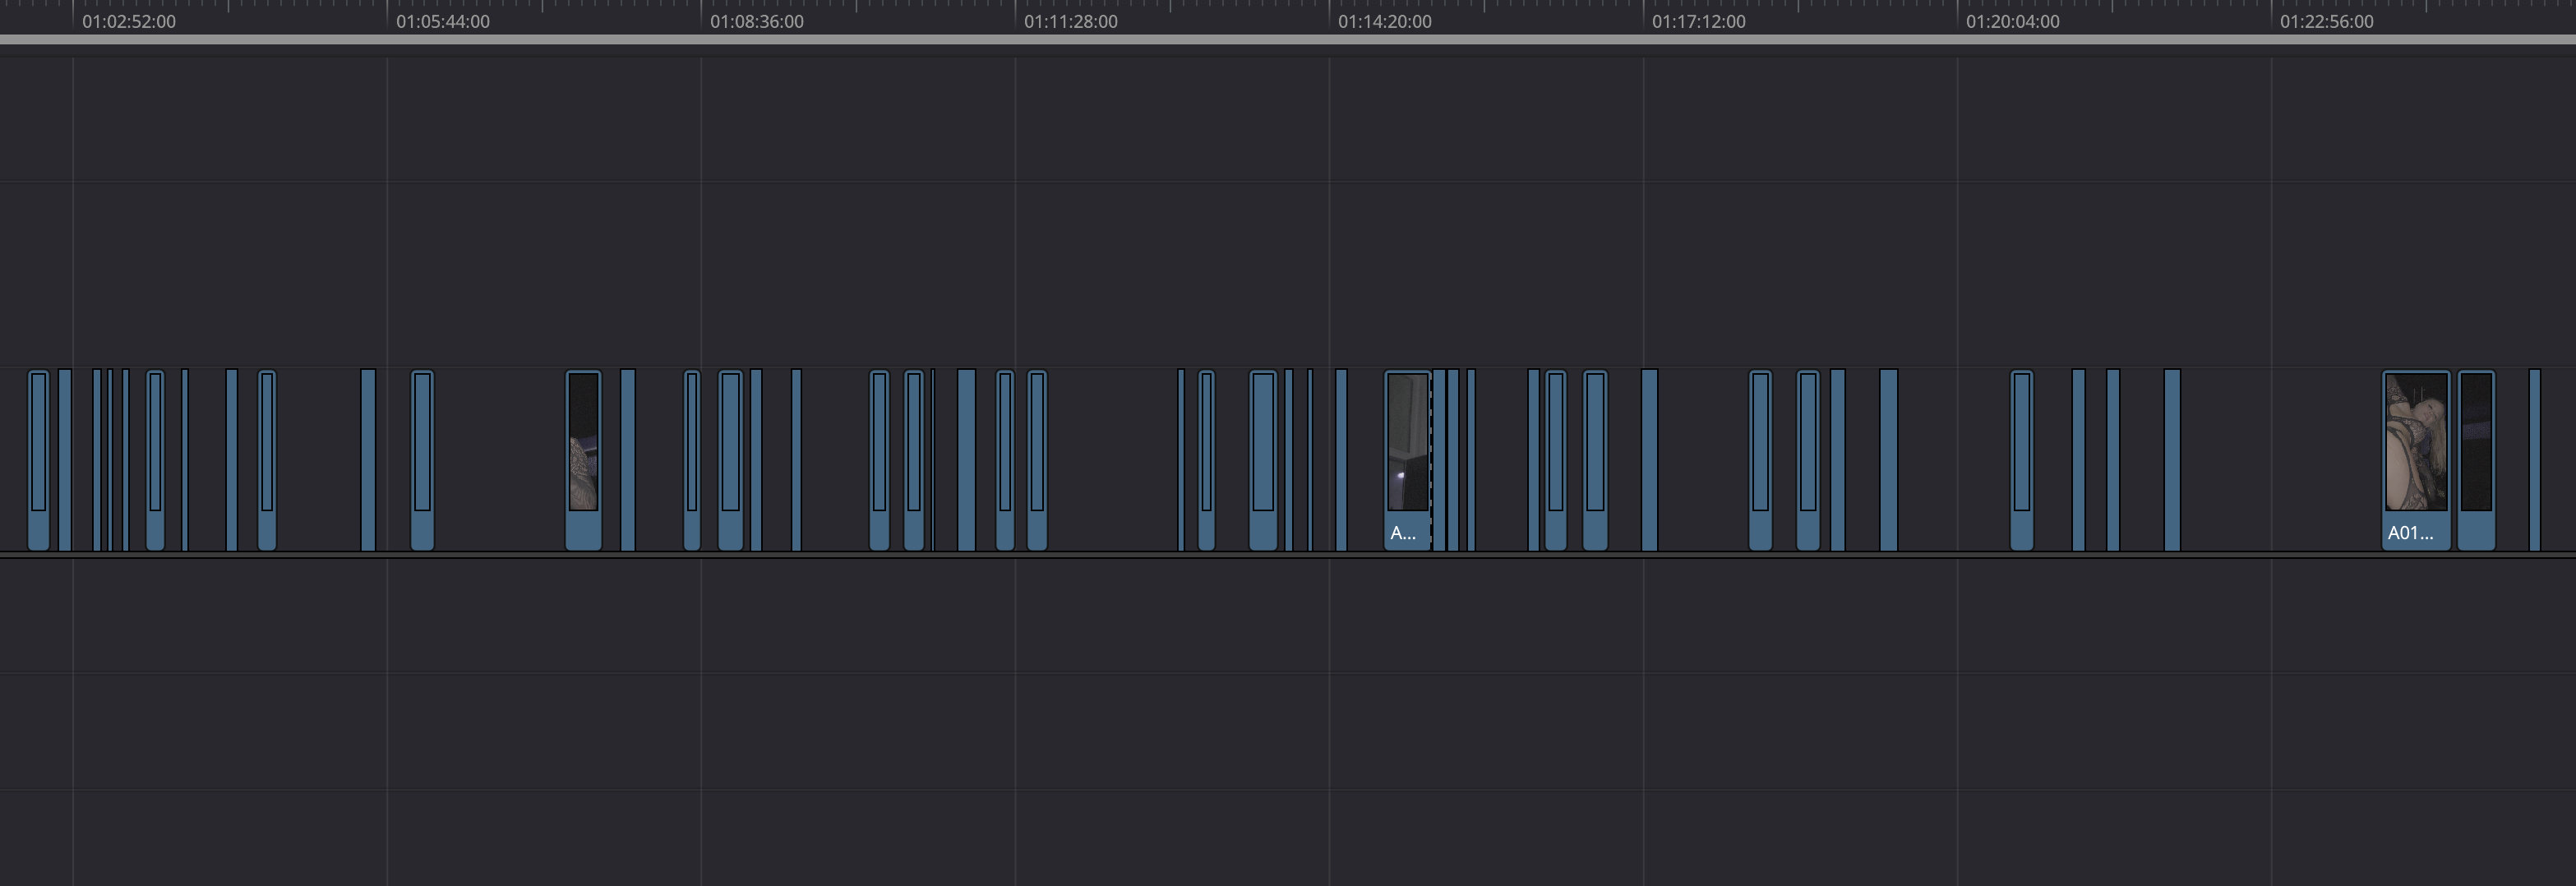
Slowed down, most clips run several minutes and much of that is filler. Go through each one and cut everything except the moments where the model looks her absolute best. Be ruthless. You want a pile of short, strong pieces to pull from in the next step.
Step 3: Drop the highlights into the template
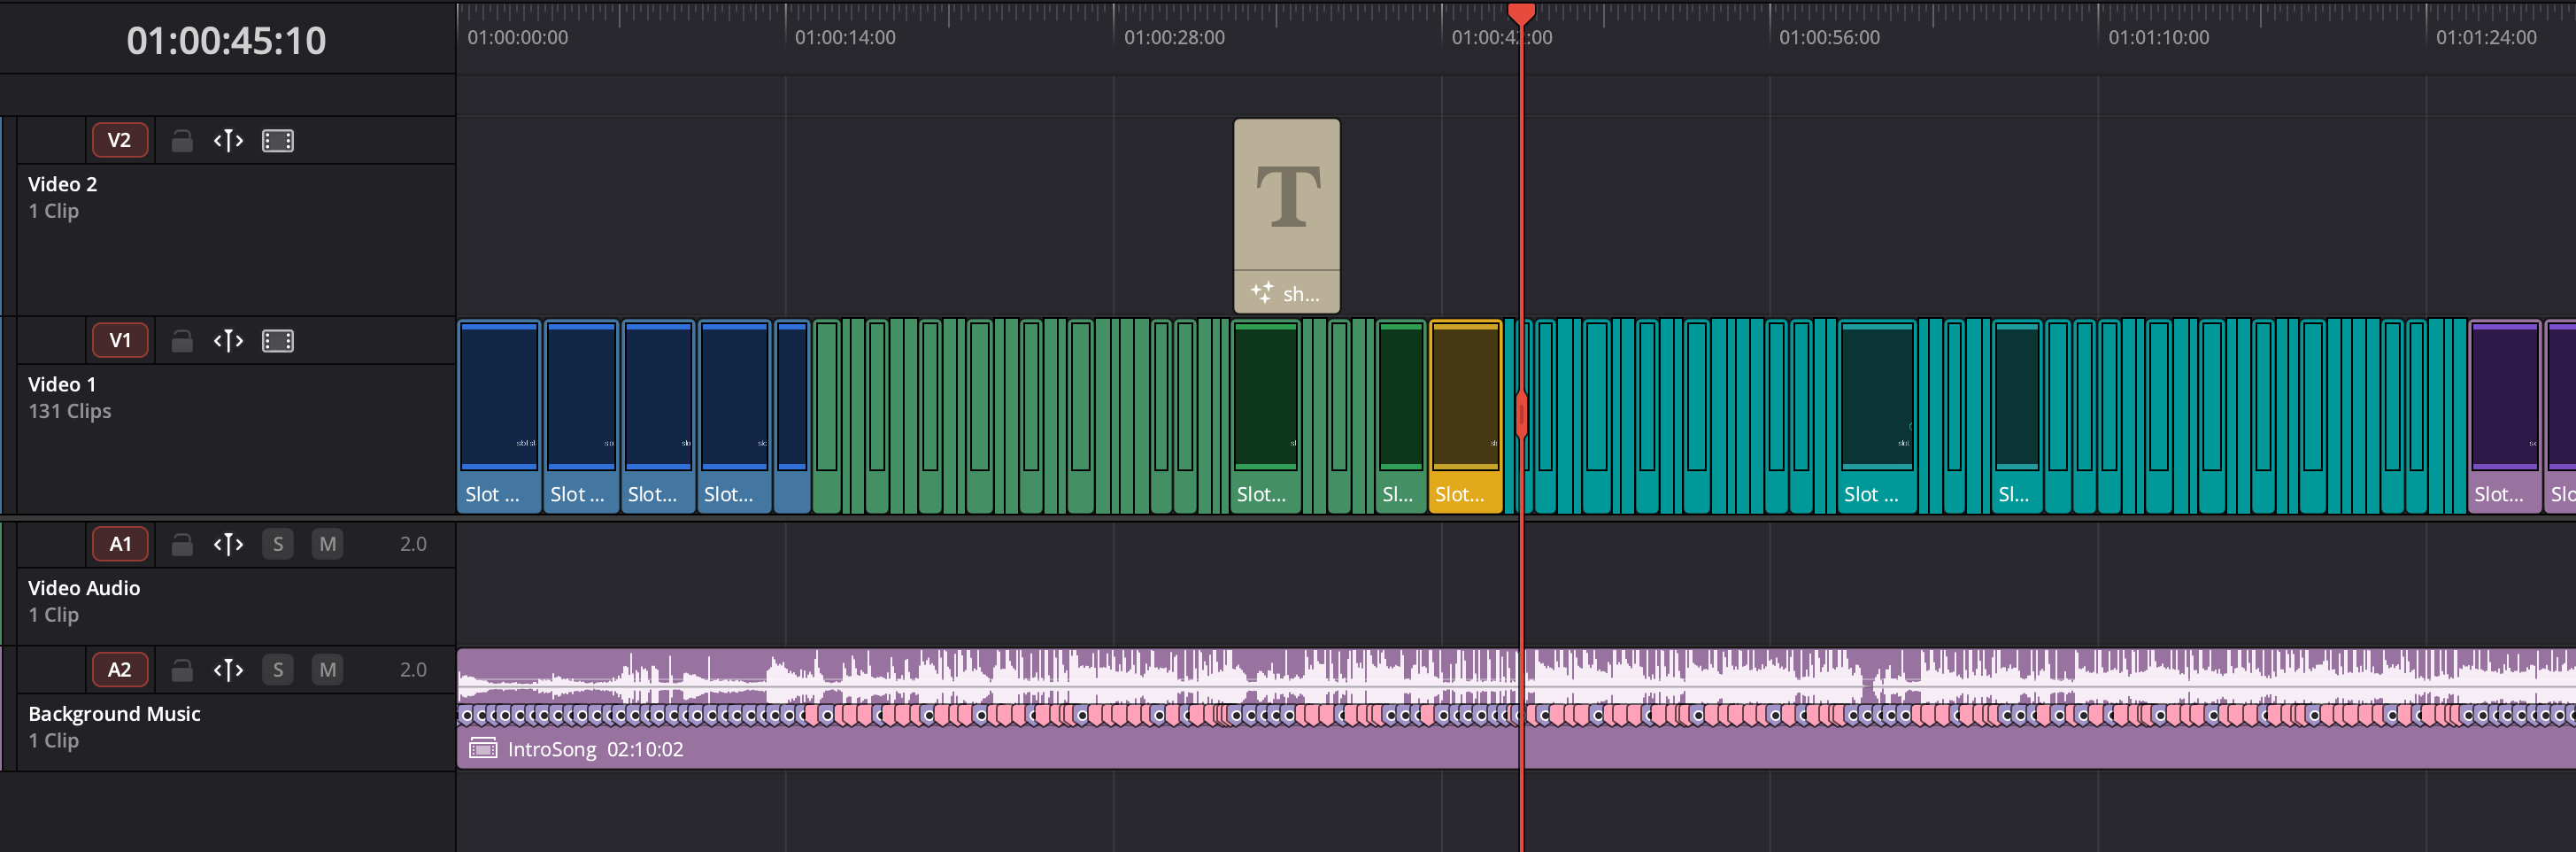
Open the intro template. The top video track (Video 1) is filled with color coded Slot placeholders, and the IntroSong sits on the Background Music track below with beat markers. Each slot starts and ends exactly on a beat.
Replace each slot with a piece of the footage you refined in Step 2.
Do not change the length of any slot. The cuts are timed to the beat of the song. Fill each slot with footage and keep its duration exactly as it is.
Order the clips as a character reveal
The intro is a character introduction, so the order of the clips matters as much as the clips themselves. Build it like a reveal:
- Open without her face. Fill the first few slots with shots that tease the model (her body, her outfit, her hair, a silhouette) but keep her face out of frame.
- Reveal her face. Once the song has built up, start showing her face. This is the character reveal.
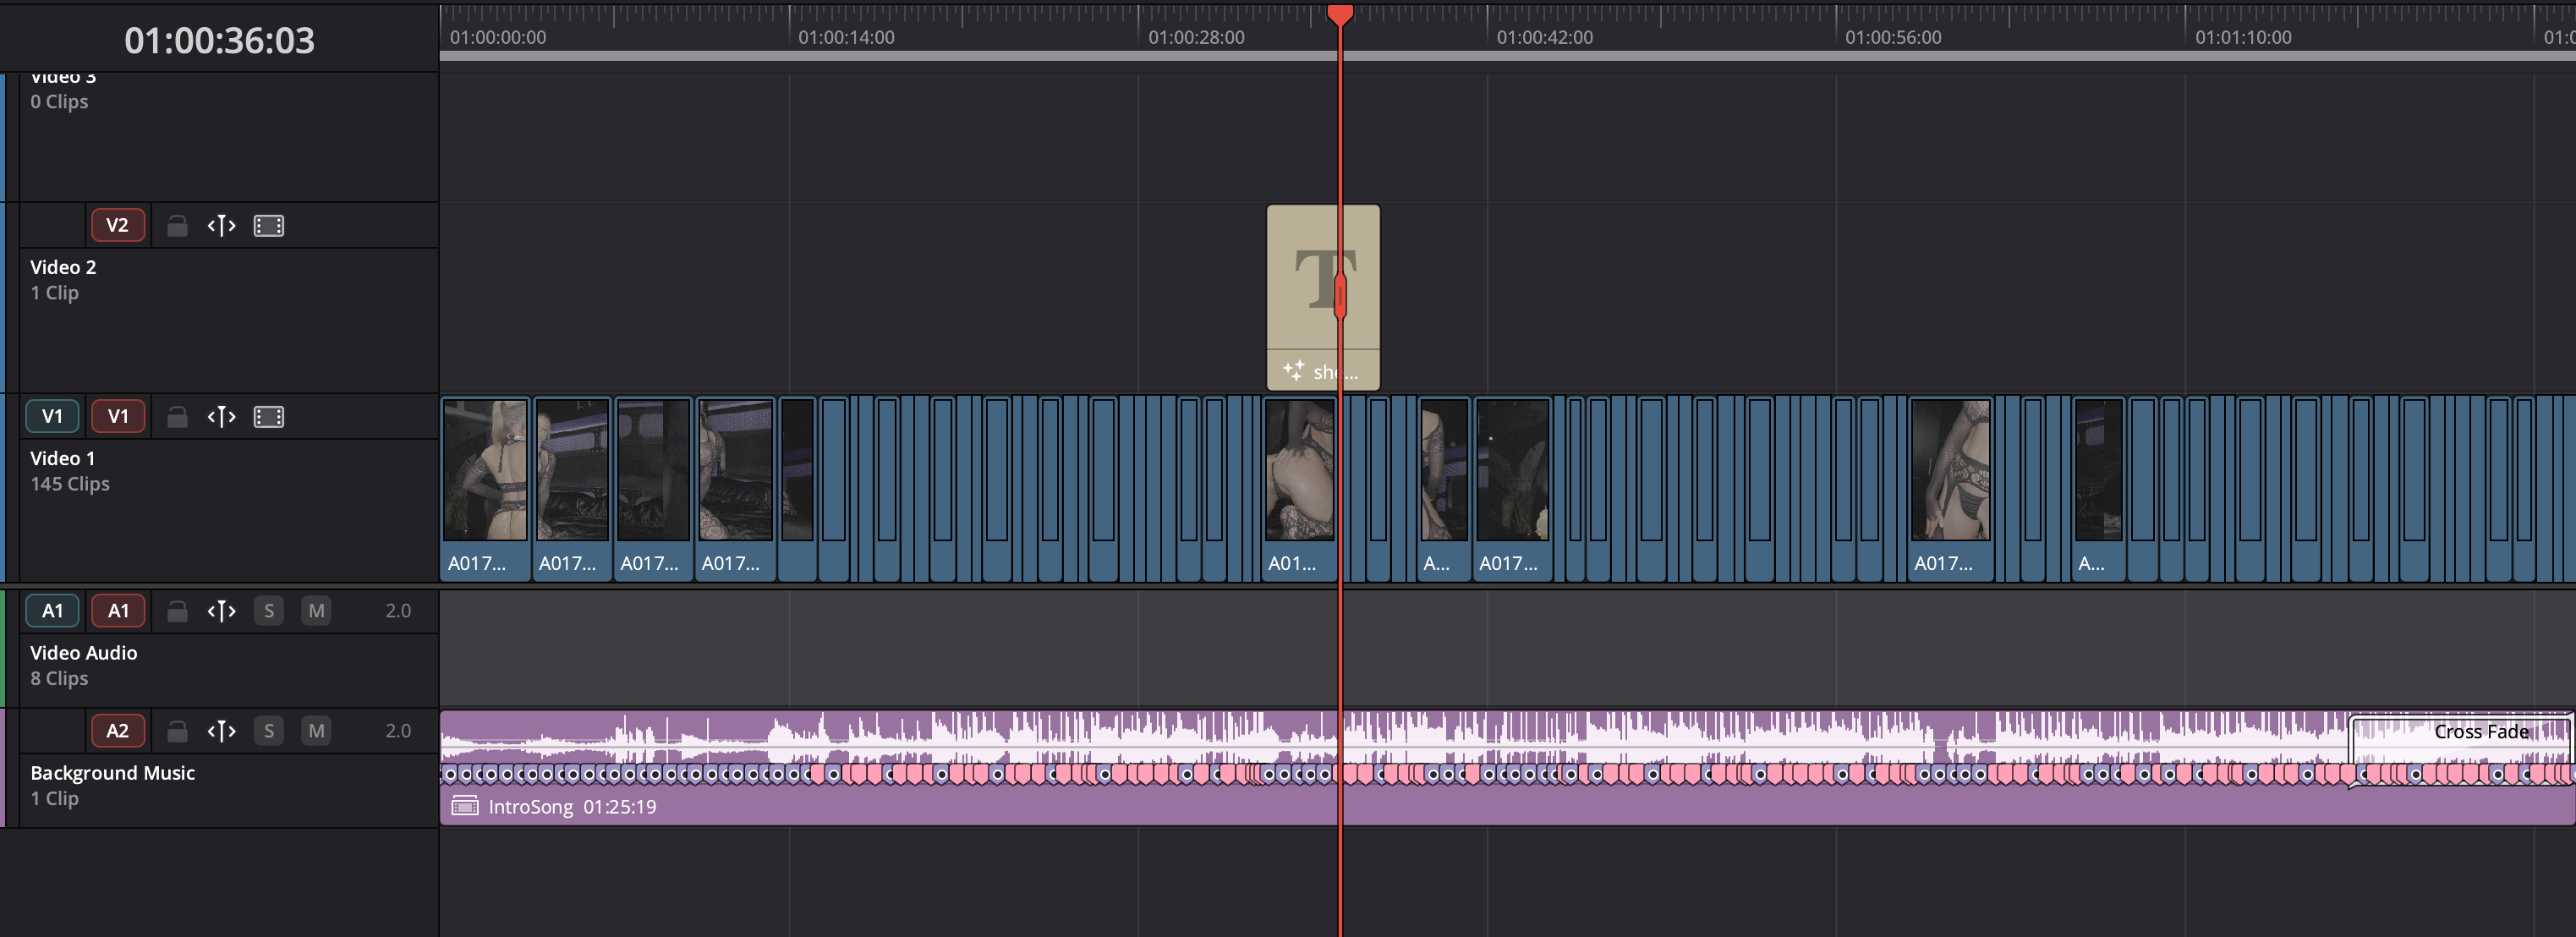
- Save the hero shot for the climax. When the music peaks and her name comes up on screen (Step 4), use the model's single best clip. That's the hero shot: the moment she looks her absolute best.
Step 4: Add the model's name
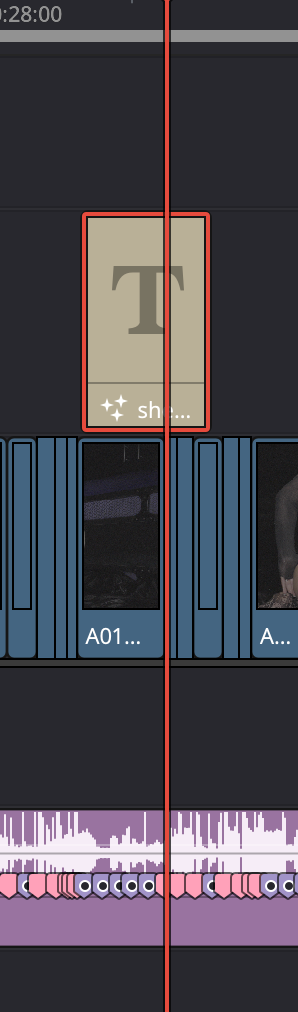
The title clip sits on Video 2, above the footage.
- Click the title clip to select it.
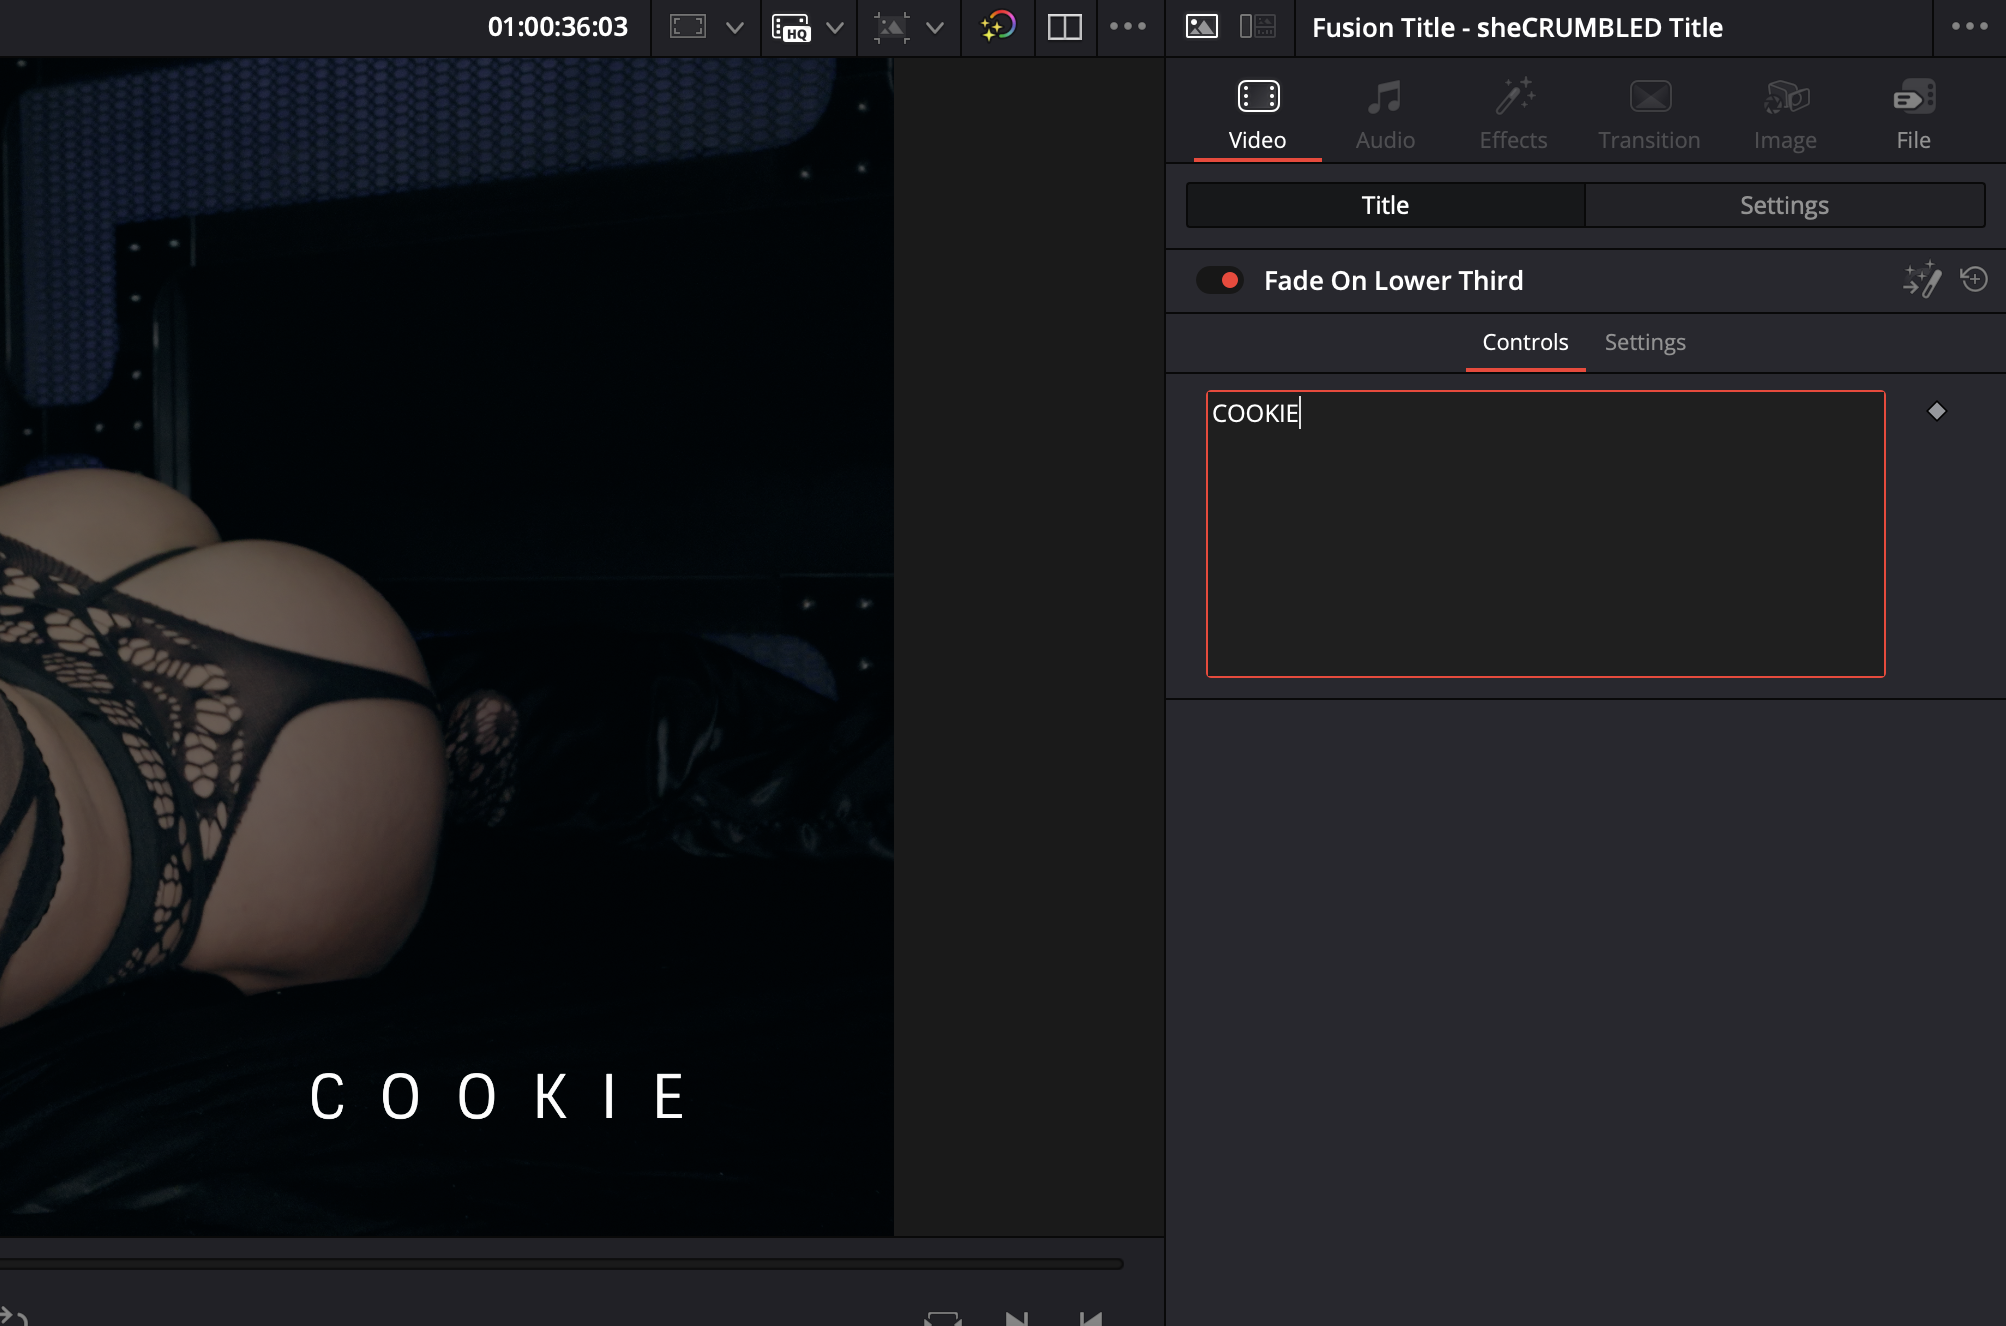
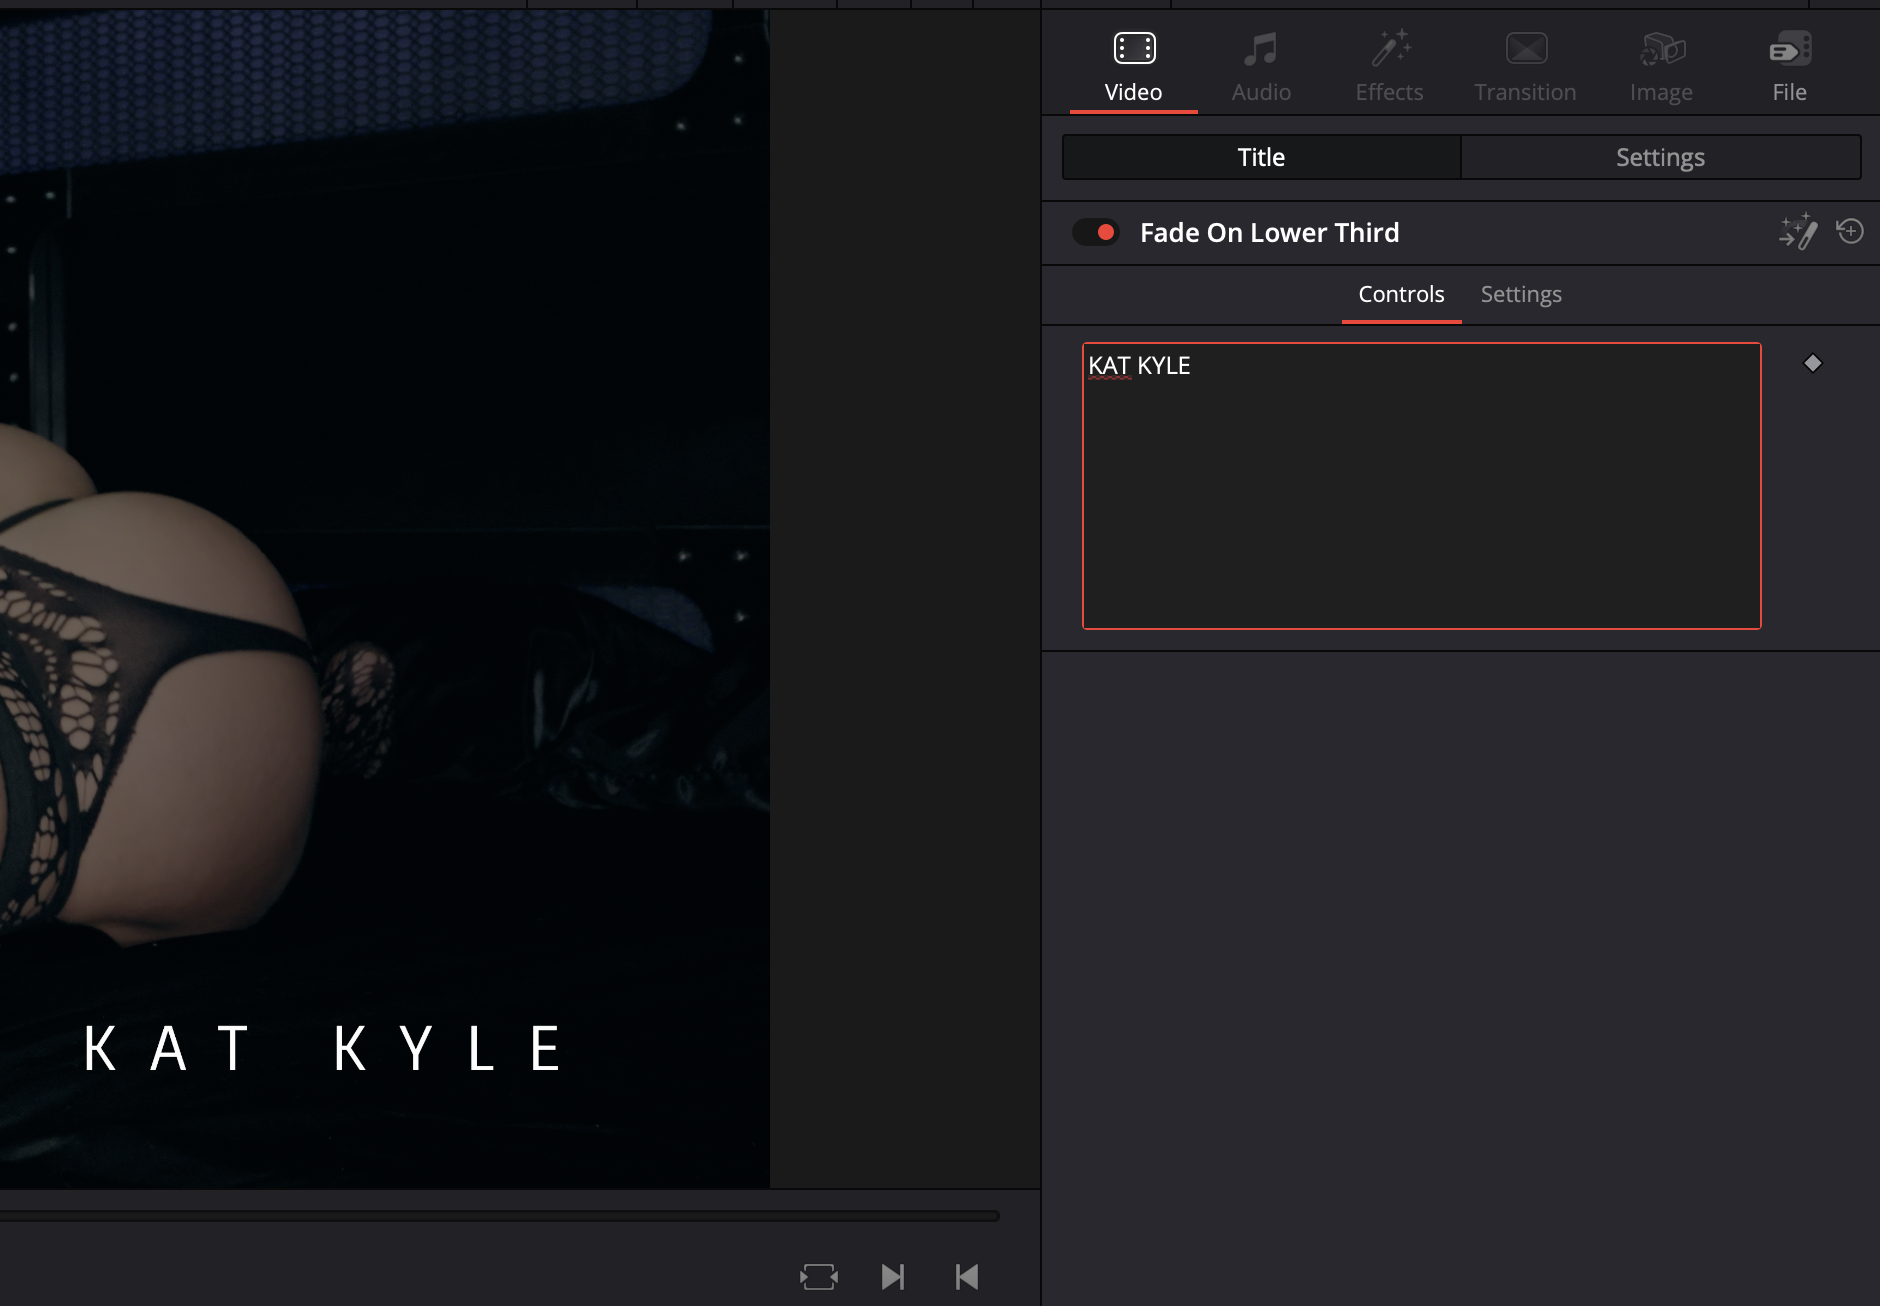
- In the Inspector, open Video → Title. Under Fade On Lower Third → Controls you'll find the text box.
- Replace the placeholder text with the model's name in capitals. The template handles the letter spacing and fade.
Part 2: The Sex Tape
The sex tape footage should be largely fine as shot. It doesn't need heavy editing, just a clean up pass.
Step 1: Fix audio pops and noise
Listen through for pops, thumps, or noise from someone bumping the mic, and remove them.
Step 2: Trim the start and end of each clip
The first and last few seconds of a clip are often dead time (setting up, getting into position, reaching for the camera). Trim them off so every clip starts and ends on the action.
Step 3: Pull out BTS and breaks in character
Watch for any moment where someone breaks character or the camera catches behind the scenes activity. Remove those moments from the main timeline and move them to the BTS timeline. Don't delete them: BTS footage is content too.
Step 4: Cross dissolve between major cuts
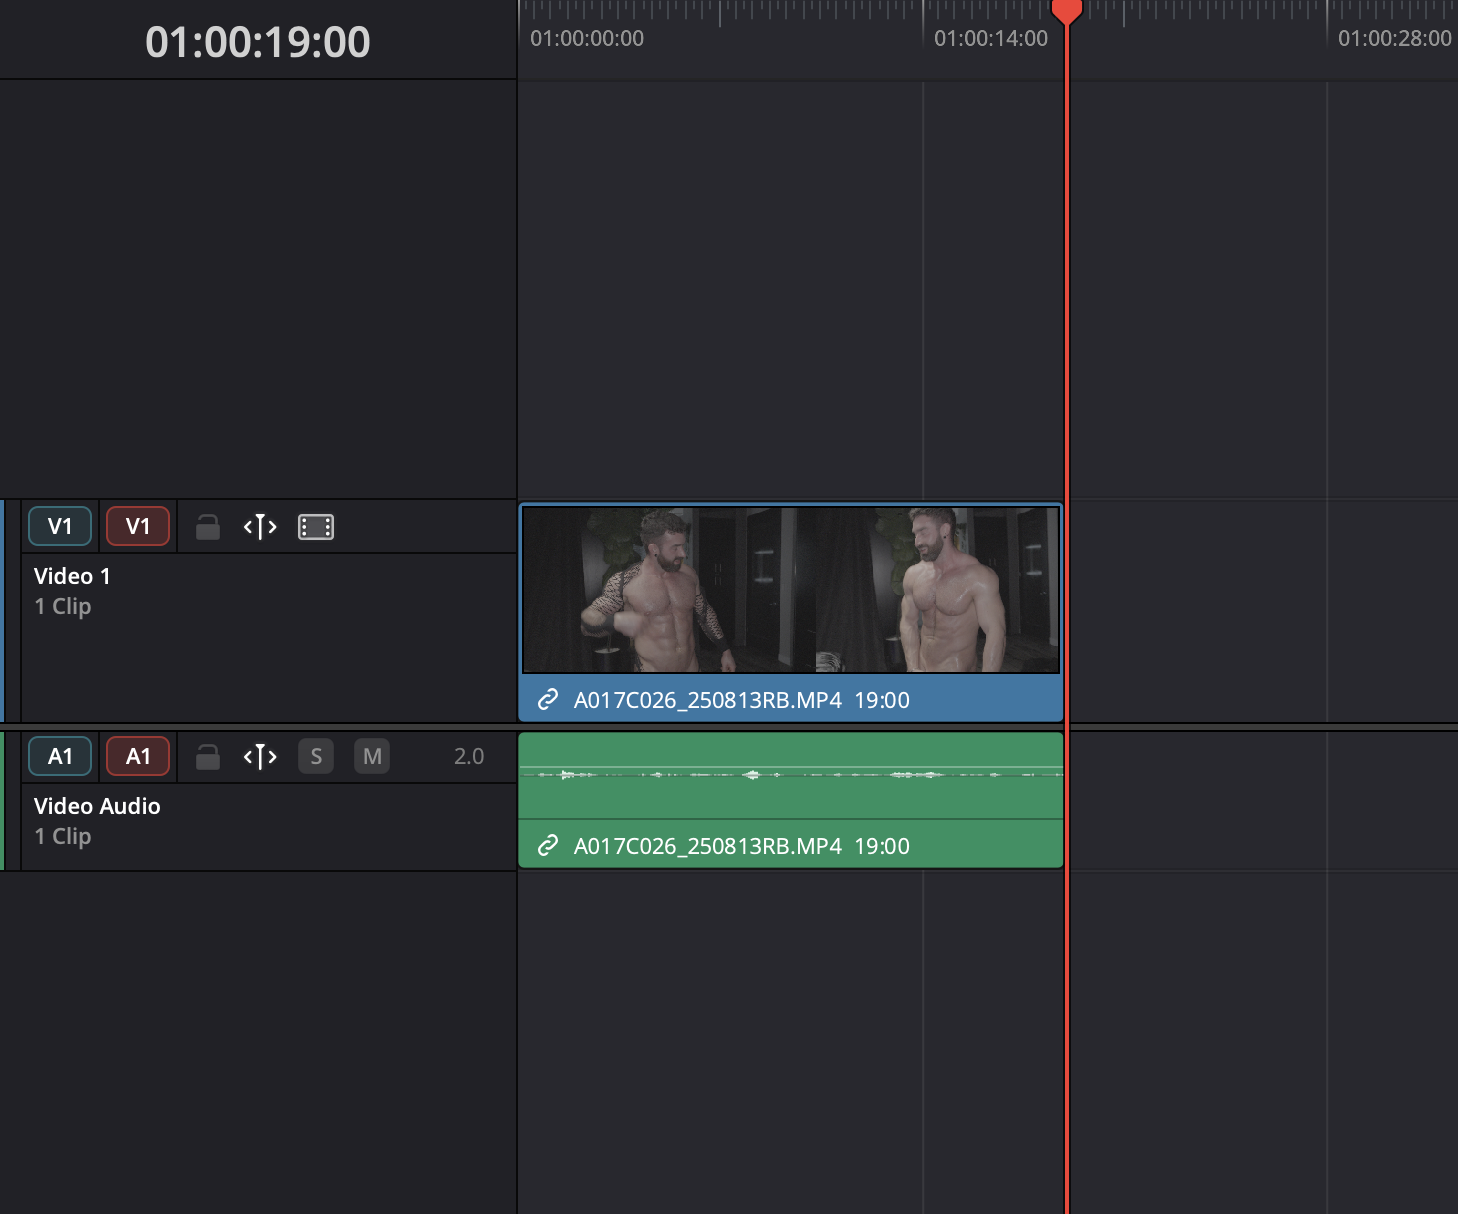
Wherever the sex tape makes a major cut (a new position, a new angle, a jump in time), join the two clips with a Cross Dissolve so the scene flows instead of jumping.
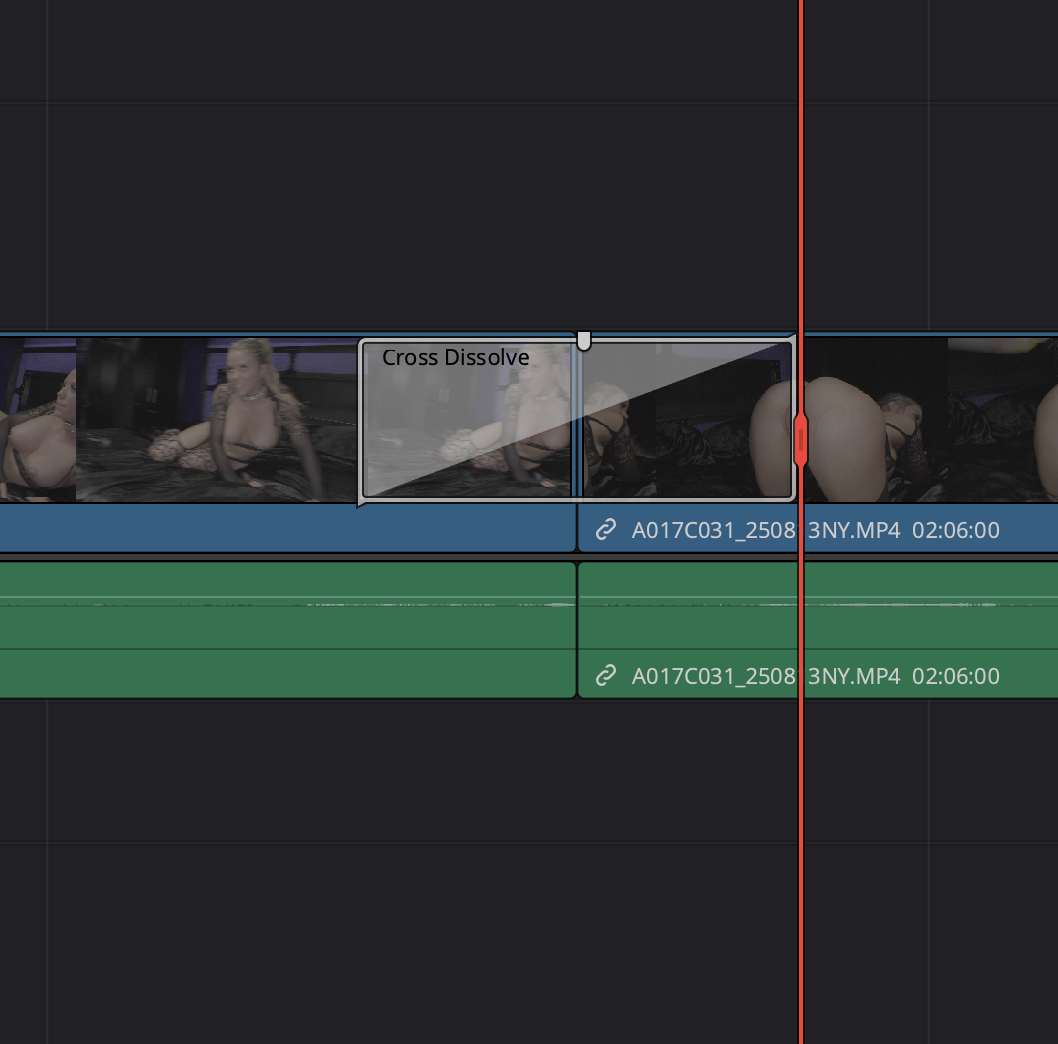
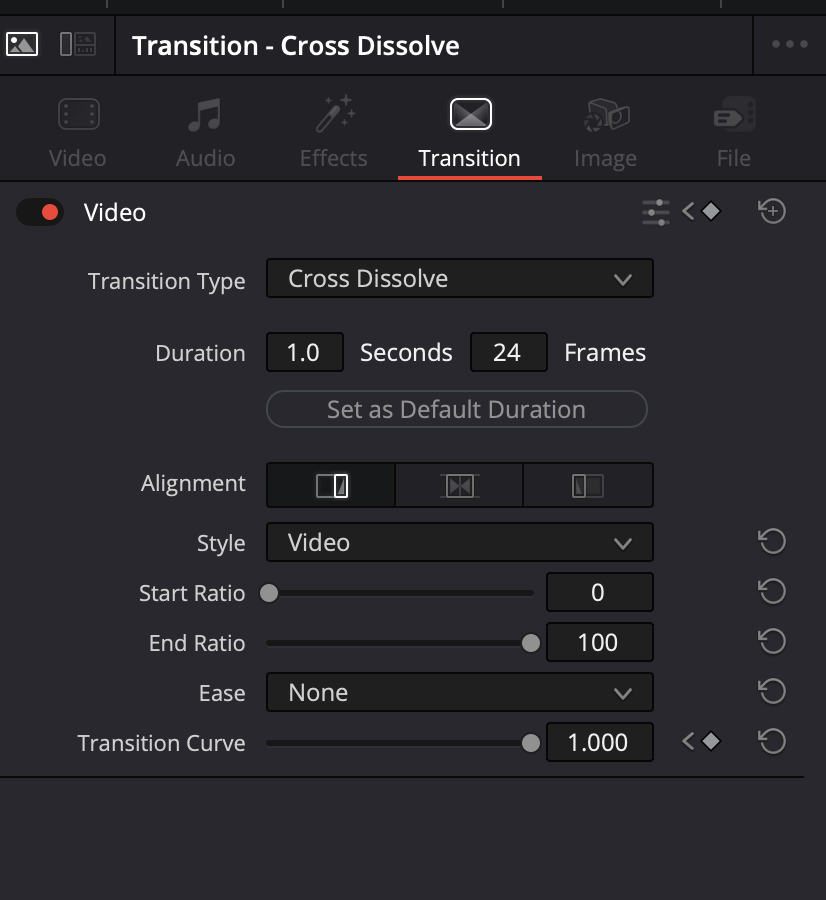
Select the transition to see its settings in the Inspector. The defaults are fine: a 1 second (24 frame) Cross Dissolve.
Step 5: Fade out the ending
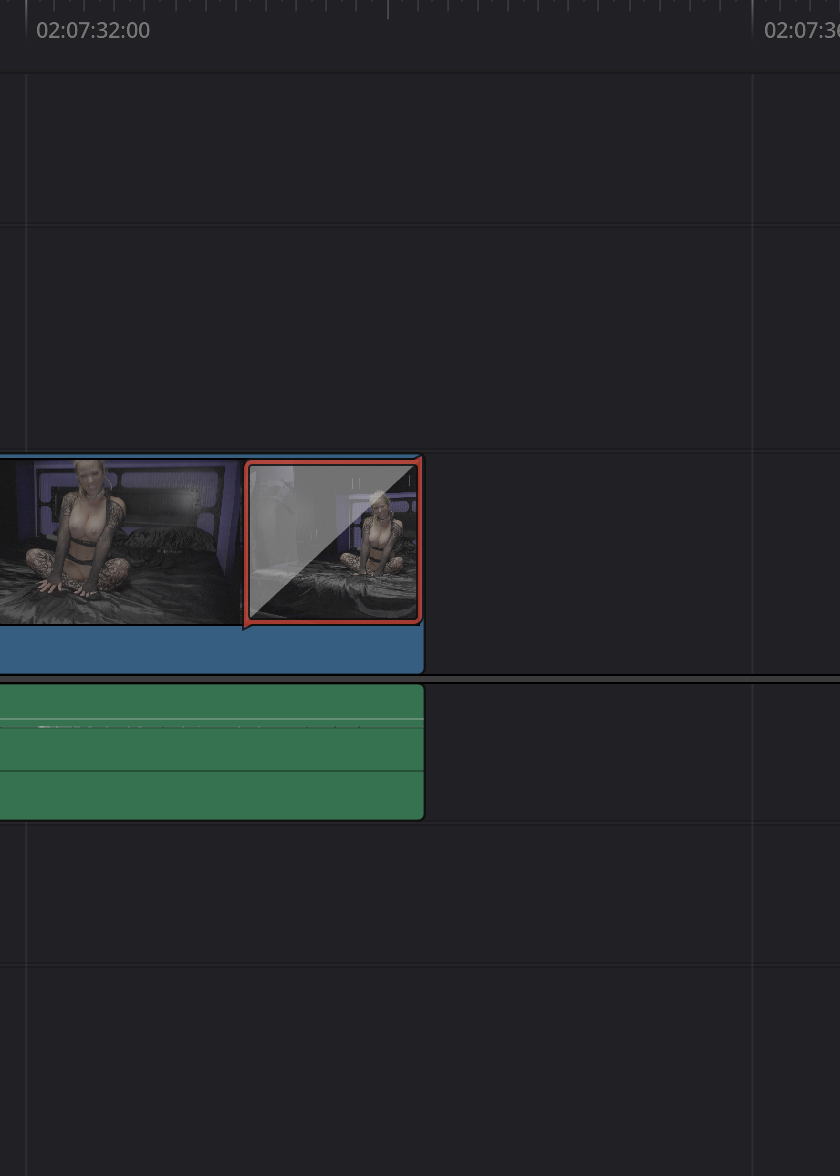
Finish the film by dropping a Cross Dissolve on the very end of the last clip. With nothing after it, the dissolve fades naturally to black.
No Comments